
Go to a Chat channel in your Team and check the options under your conversation box.

Next, click the Meet Now (the camera icon).
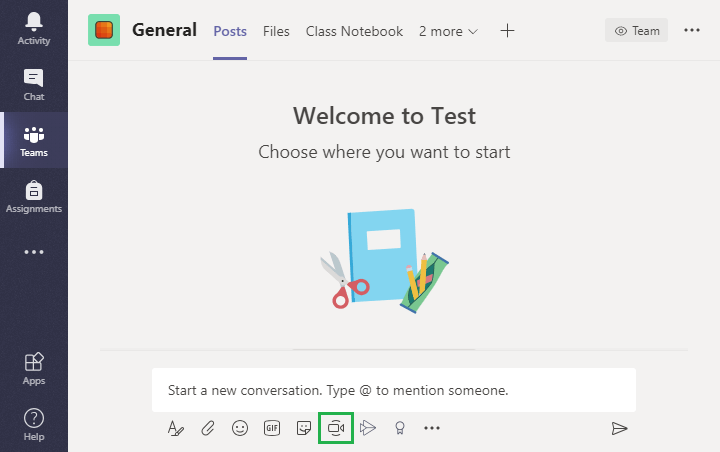
Afterwards, you can give your meeting a subject title and turn your camera on or off for the meeting.

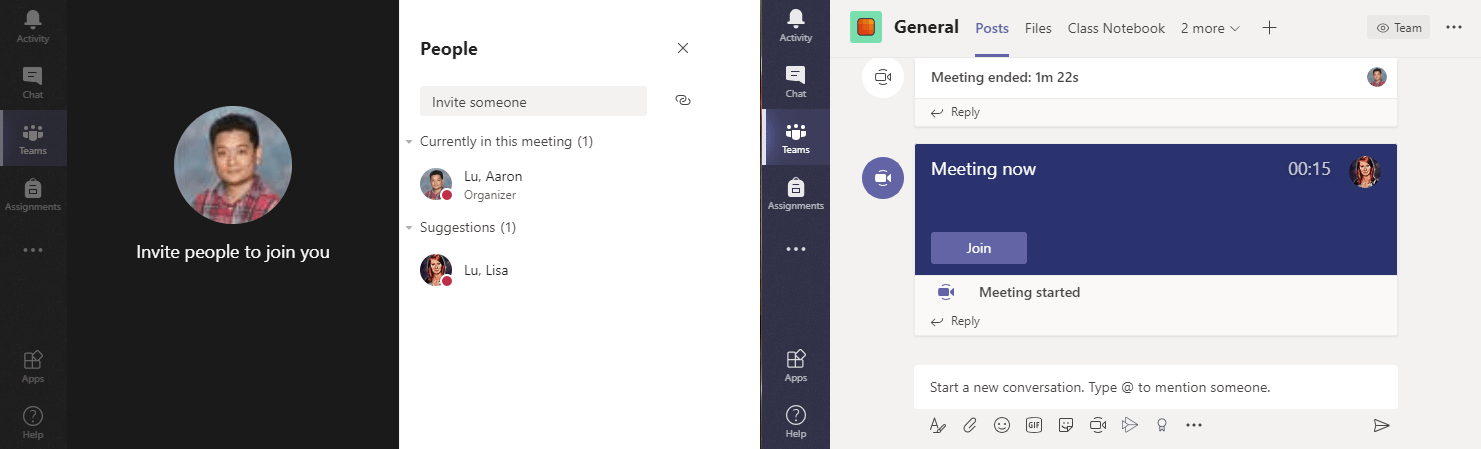
Once you have clicked on the Meet Now button, your meeting will start. You will have the option of inviting specific people in your Team to the meeting (left). However, as soon as you start your meeting others in your Team can manually join (right).
Once people have joined your meeting you will be given new options. From left to right you can: Turn you camera on/off, Mute your mic, Share, More Actions, Show Conversation, Show Participants and Hang up. Some open up new menus.

Here is a brief explanation of the simpler options. More in depth functions such has Share and More Actions will be explained after:
Turn Camera On/Off:
This will turn off your camera so you aren’t displaying a video feed. Press it again to display your video feed.
Mute Mic:
This will mute your mic. Press it again to unmute your mic.
Show Conversation:
This will display the text chat conversation attached to the meeting in the same screen as the meeting.
Show Participants:
This will show a list of all the participants in the meeting.
Share is a very useful function that allows you to share a view of your Desktop, Windows Program, File or Teams Apps with participants (top). You can also allow the sound from your device to play by checking the Include system audio option. You can browse your OneDrive or device for files you want to share (bottom).

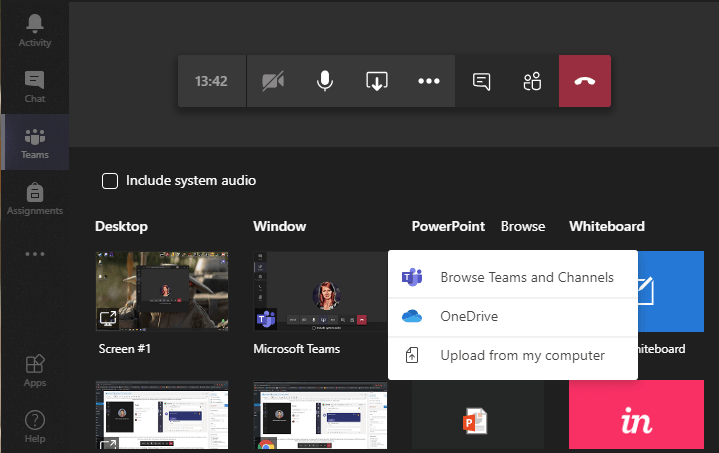
It is important to understand what is shared when you are displaying your Desktop or Window. Here is a more in depth explanation:
Desktop:
This will display your desktop. If you use multiple monitors, you can choose which desktop will display in the meeting. This means that anyone in the meeting will see your background wallpaper and desktop icons. When you choose a screen, Teams will minimize and a red border will appear around the edge. Everything you do on that screen will be displayed to the meeting. A shortened version of the action bar will appear and you can stop displaying by pressing the Stop Sharing button.
Window:
This is a more specific display that only shows an active program that you currently have open. It could be a internet browser, word document, video player, etc… Just like with the Desktop option, the selected program will have a red border around the edge to indicate that it is on display.
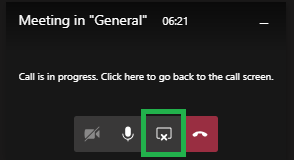
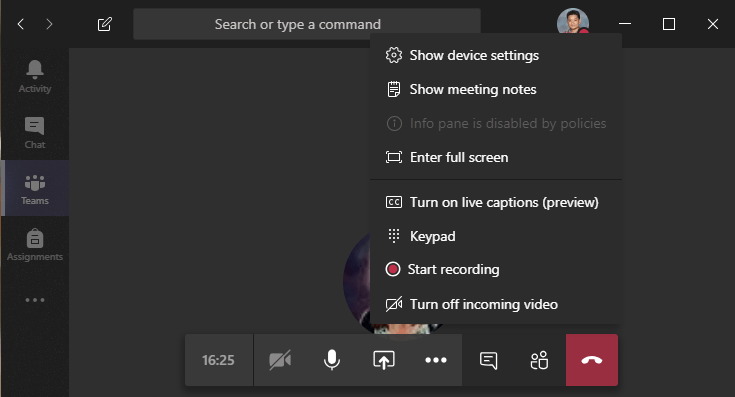
Clicking on More Actions will create a pop up menu. This is mostly for managing your device’s camera and mic settings. You can also record the meeting for viewing afterwards but we will go over that in another tutorial.
When you are done with your meeting you simply press the red Hang Up button to end your meeting.
Congratulations! You can now hold your first Microsoft Teams meeting! Follow the link below to learn how to manage a recording of your meeting.
Do you have any questions? Leave a message in our discussion forum. Note that these forums are viewable to the public, but require an Edublog account to post.
Please take a moment to provide some anonymous feedback below!