
Okay Pinecones, time for step 2!
When we left off, you’d just clicked on the Customize button at the top of your blog. A window like this should appear:
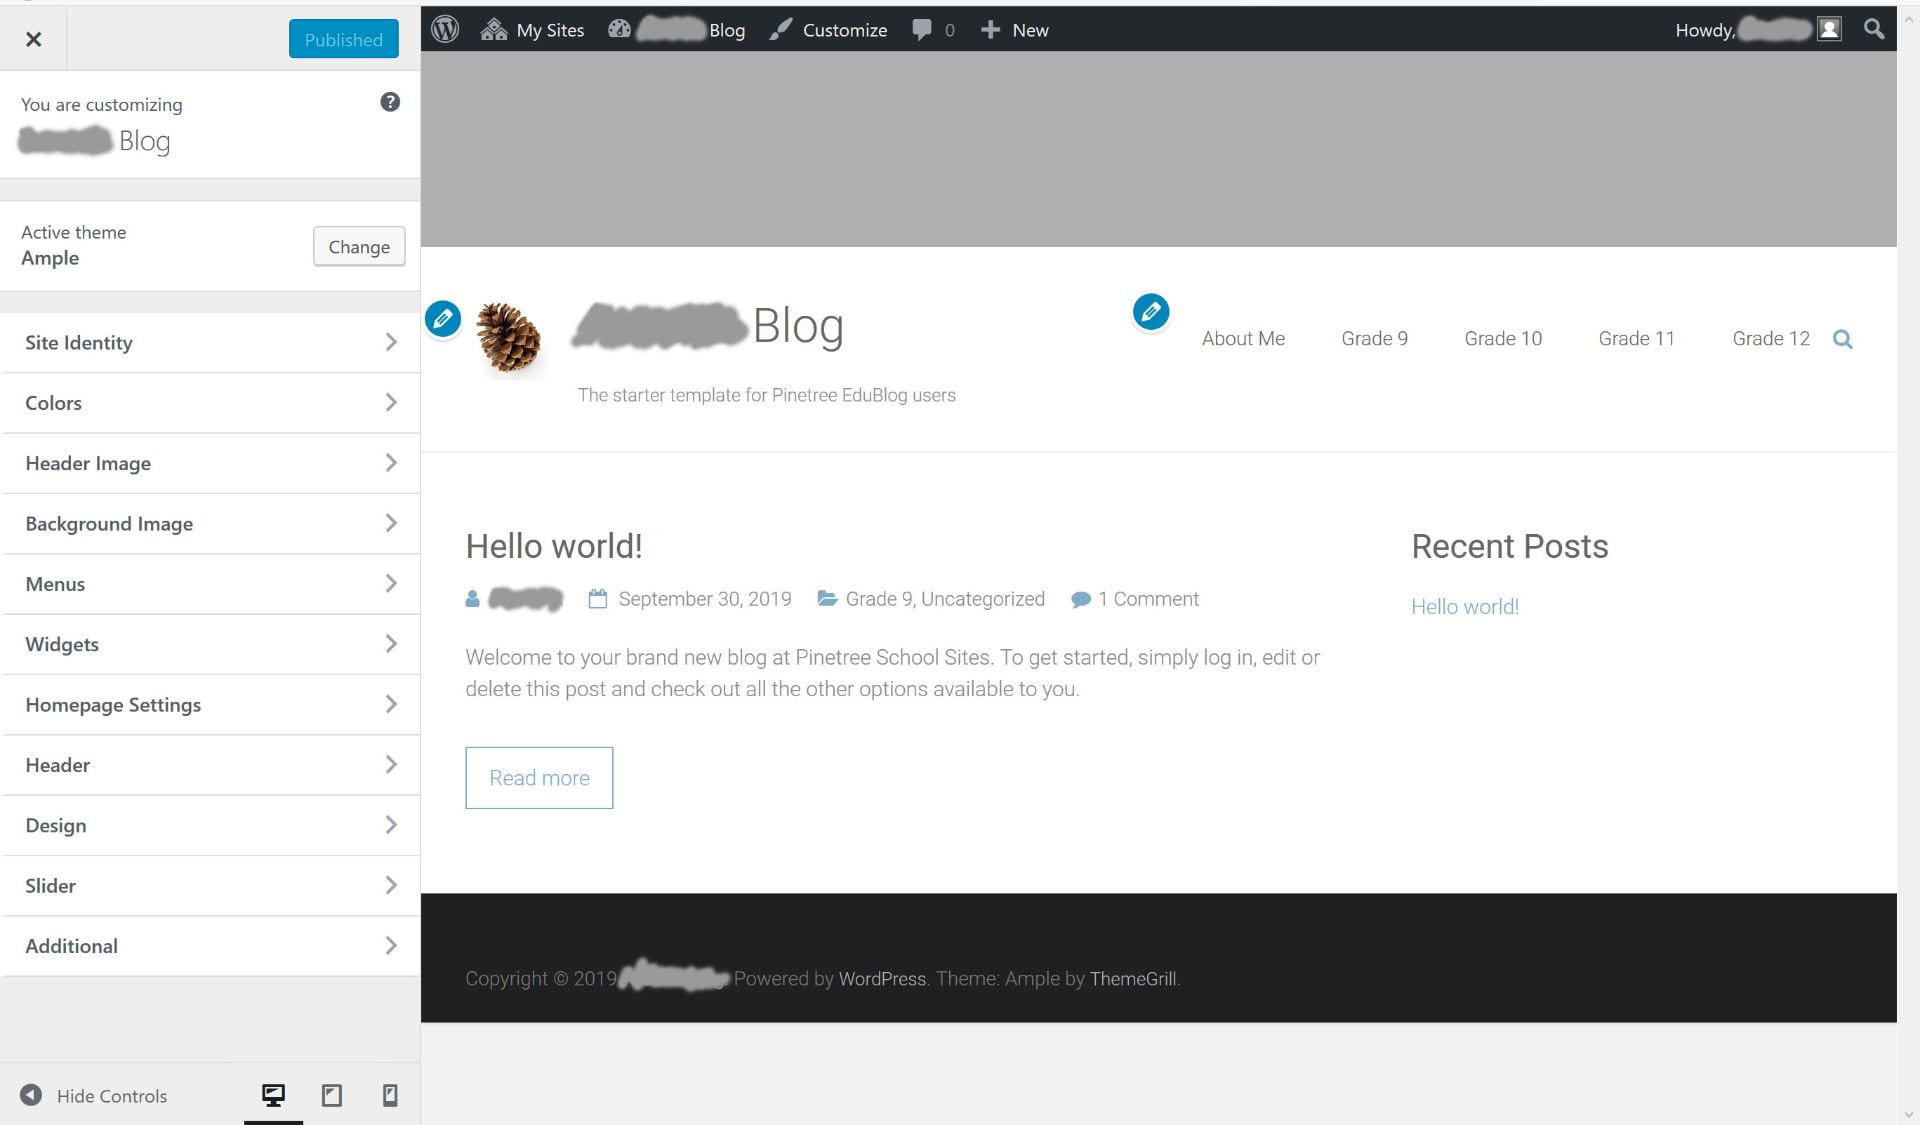
From this view, you can change the site to look how you want it to appear.
Using the Site Identity tab, you can replace the Pinecone with a logo that you would like to appear on each page (or remove the logo). You can also change the tag-line of your blog.
Under Header Image, you can add a header image that will appear at the top of your site. If you prefer a cleaner look, you can also hide the image.
If you prefer to use a different layout for your site, explore the Active theme section. The default blog theme used is called Ample but you can change it to any one of hundreds of other options. Pick one that suits your personality.
We will explore customizing menus and adding widgets in a future tutorial. If you’ve finished customizing your site to your own preferences, time to move on to adding content!
Next tutorial: Editing a page