
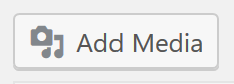
When creating a page or post, if you want to include images or other files as part of the layout, you need to use the Add Media tool that can be found at the top left of the Visual Editor.
Once inside this menu, a number of options are available:
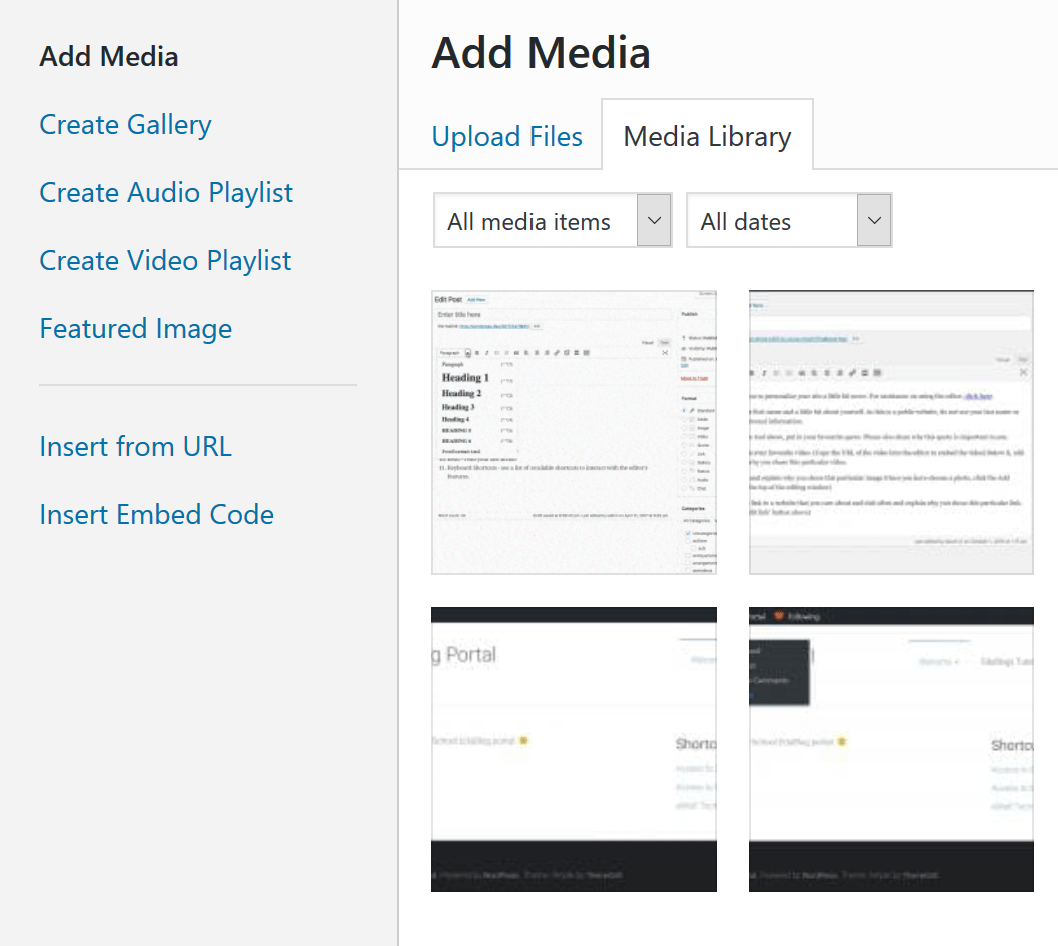
By default, you will be able to view all the files/images you have uploaded to your blog. If you want to use a previously uploaded file, you can find it from this list of thumbnails or use the search function.
To add a new image, select the Upload Files tab: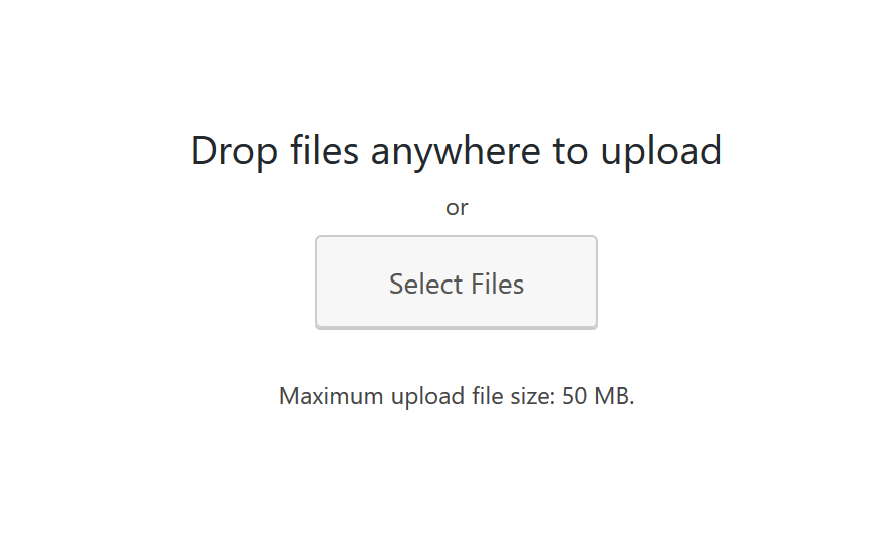 If your device allows you to drop files onto this window, they will automatically upload to your EduBlog and appear in the media library. However, if this option is not working, you can push the Select Files button, and manually select the file(s) you want to upload from your device’s file viewer.
For most situations, the above options will work.
Several additional options are also available however:
You can insert a link to a file or video using the Insert from URL tab.
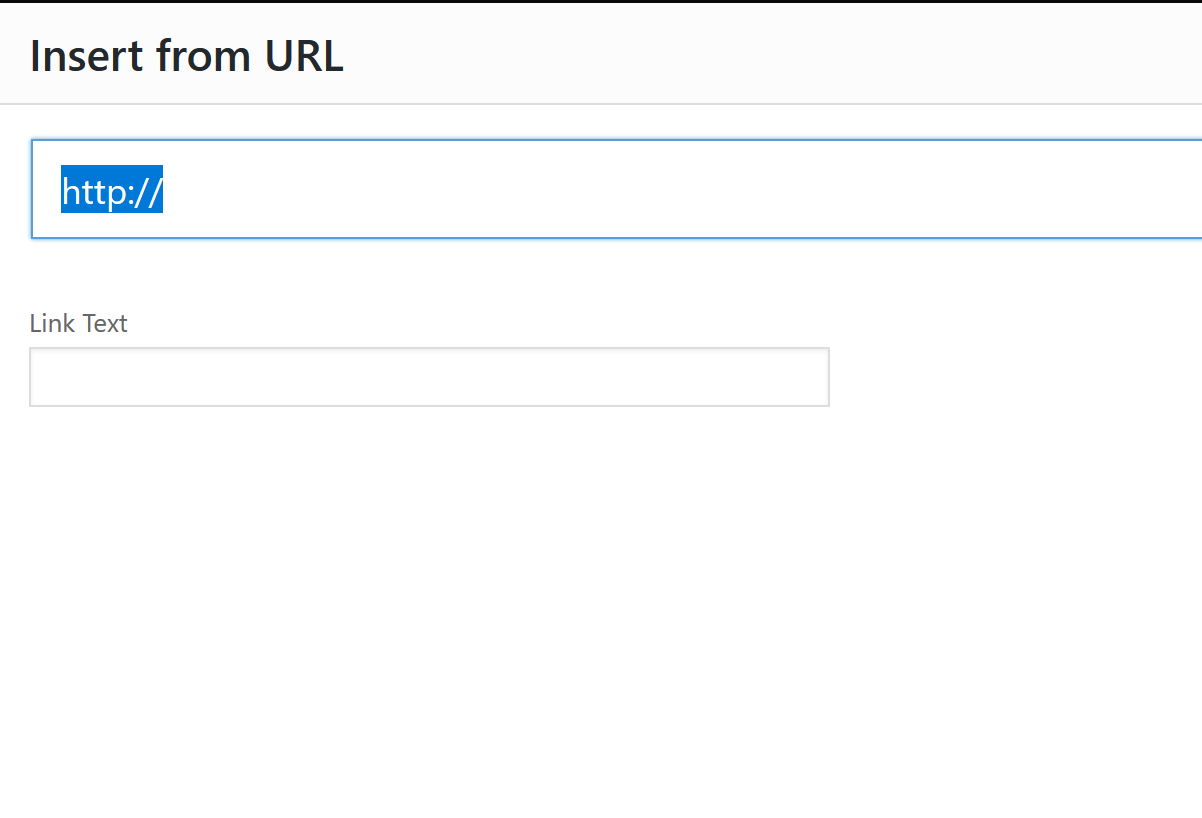
This is also an excellent method of adding videos into your site: If you want to embed a YouTube video, you can paste a link directly into your post, which will automatically create an “Insert from URL” image, or you can use the Add Media button.
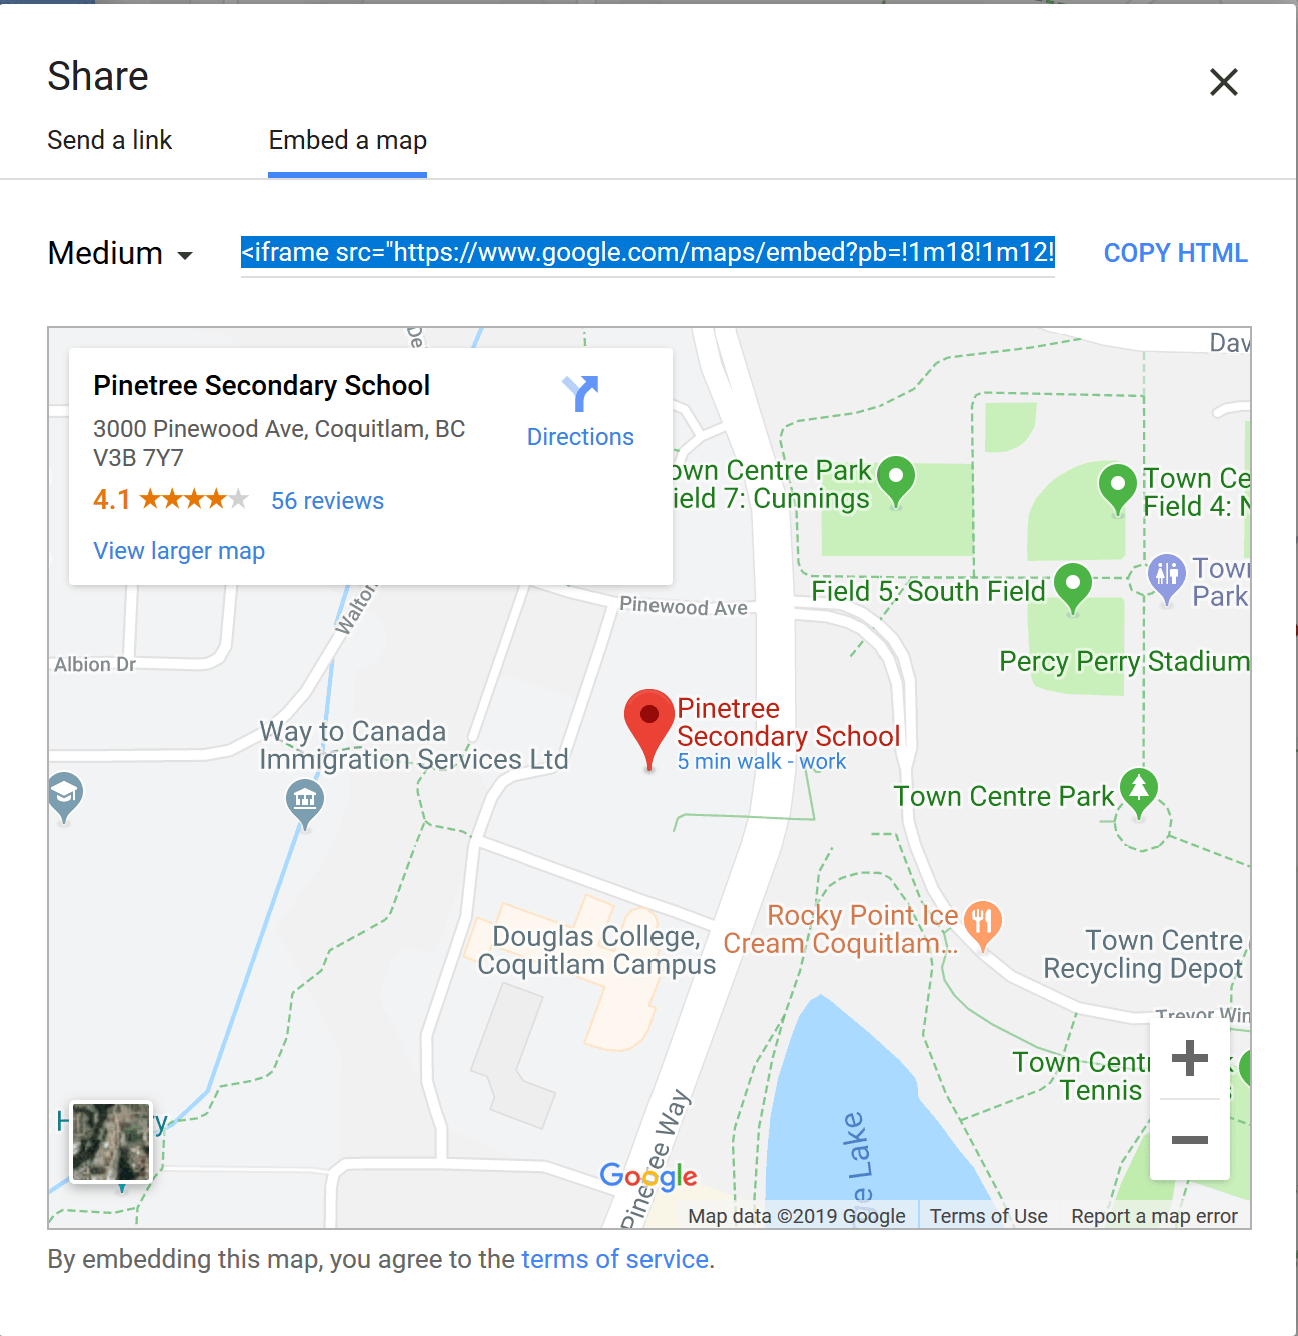
It is also possible to embed an interactive web snippet from another website using what’s called an Embed Code. These can be found under share links on many sites.

For example, here is the share menu for the listing for Pinetree Secondary from Google Maps. By adding that <iframe … code snippet in the Add media menu, a dynamic map can be added to your page or post:
The results: