
You can view Microsoft’s official (out-of-date) training video on this topic here.
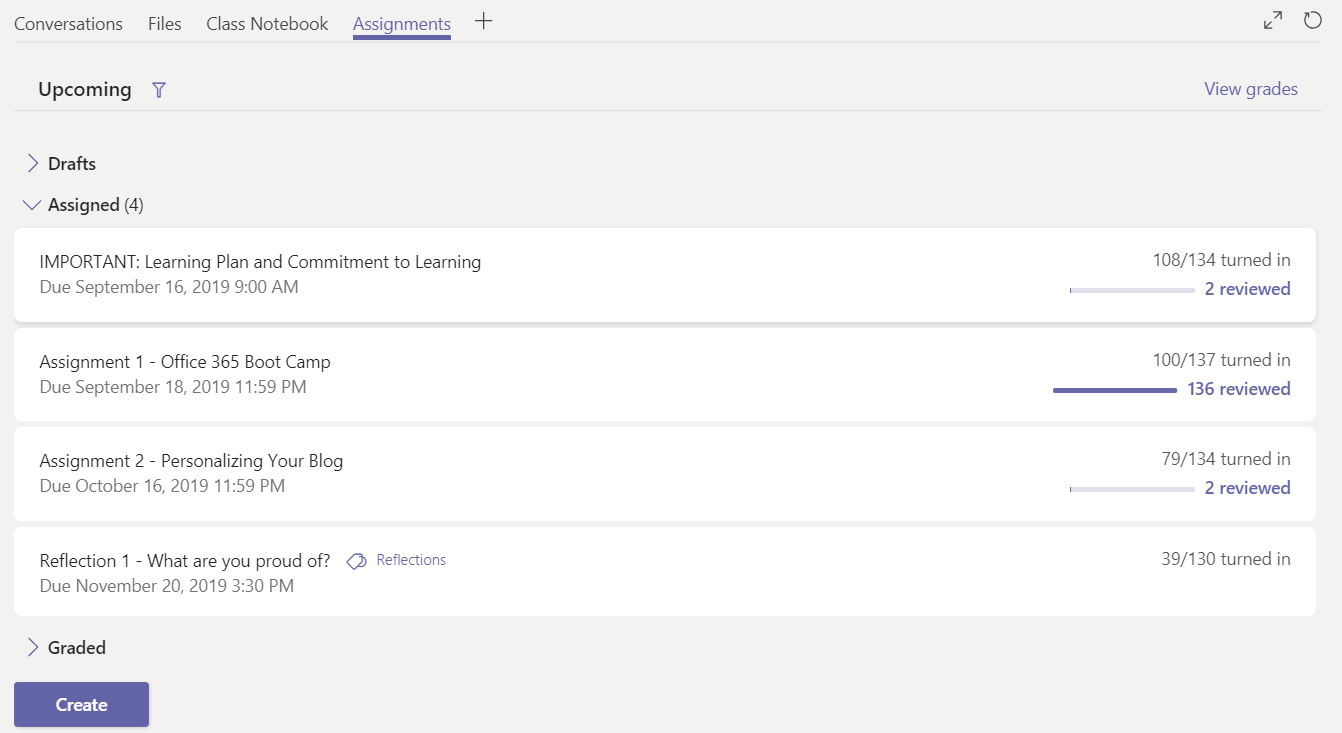
When you are ready to start reviewing and assessing assignments, click on the Assignments tab at the top of the screen. You will be brought to a full list of all the assignments you have given to your class (example below). Click on whichever assignment you wish to review.
 Note: the Assignments add-in will not work in Teams with more than 200 students in a single class.
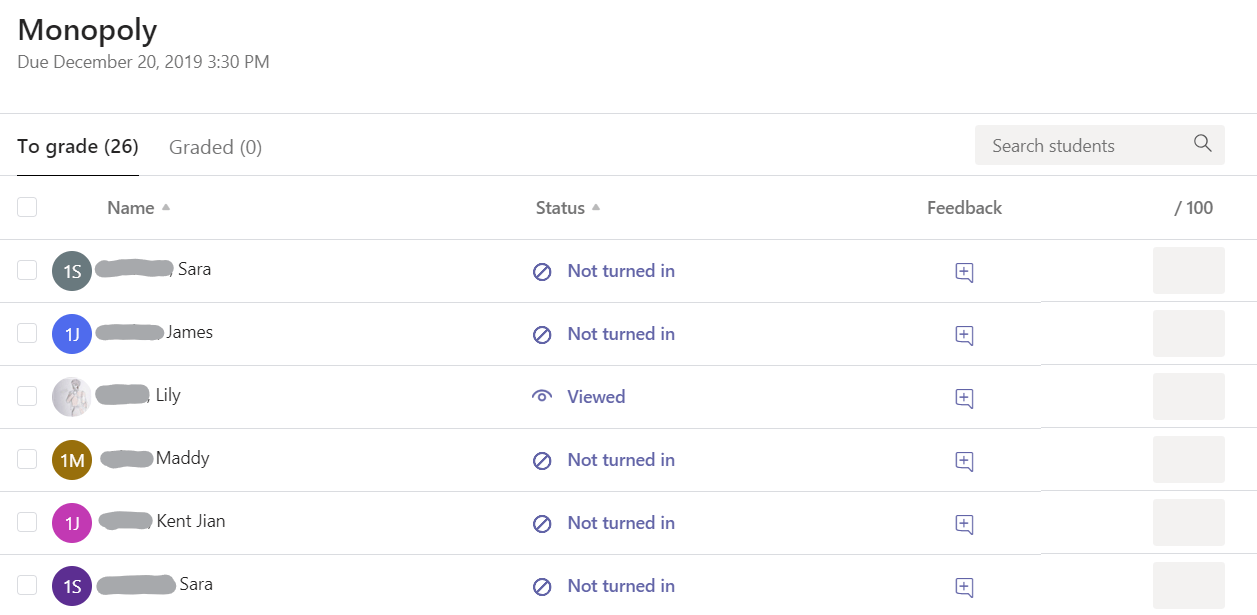
After clicking on the assignment, you will be shown a list of your students (image below). This list is divided into four columns: name, status, feedback and score.
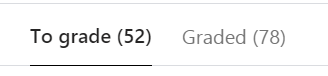 You will see two tabs at the top of the list: To grade and Graded (image left). These tabs let you toggle your view between marked/returned work and new submissions you have not yet reviewed.
The Status column will display one of the following for each student, depending on their progress:
| Not turned in indicates that the student has not yet opened the assignment and, therefore, has not submitted any work. | |
| Viewed indicates that the student has opened the assignment and viewed the instructions, but has not yet submitted any work. | |
| Turned in indicates that the student has completed the assignment and submitted their work. | |
| Returned indicates that the teacher has review the submission and returned it, possibly with a grade and/or written feedback. |
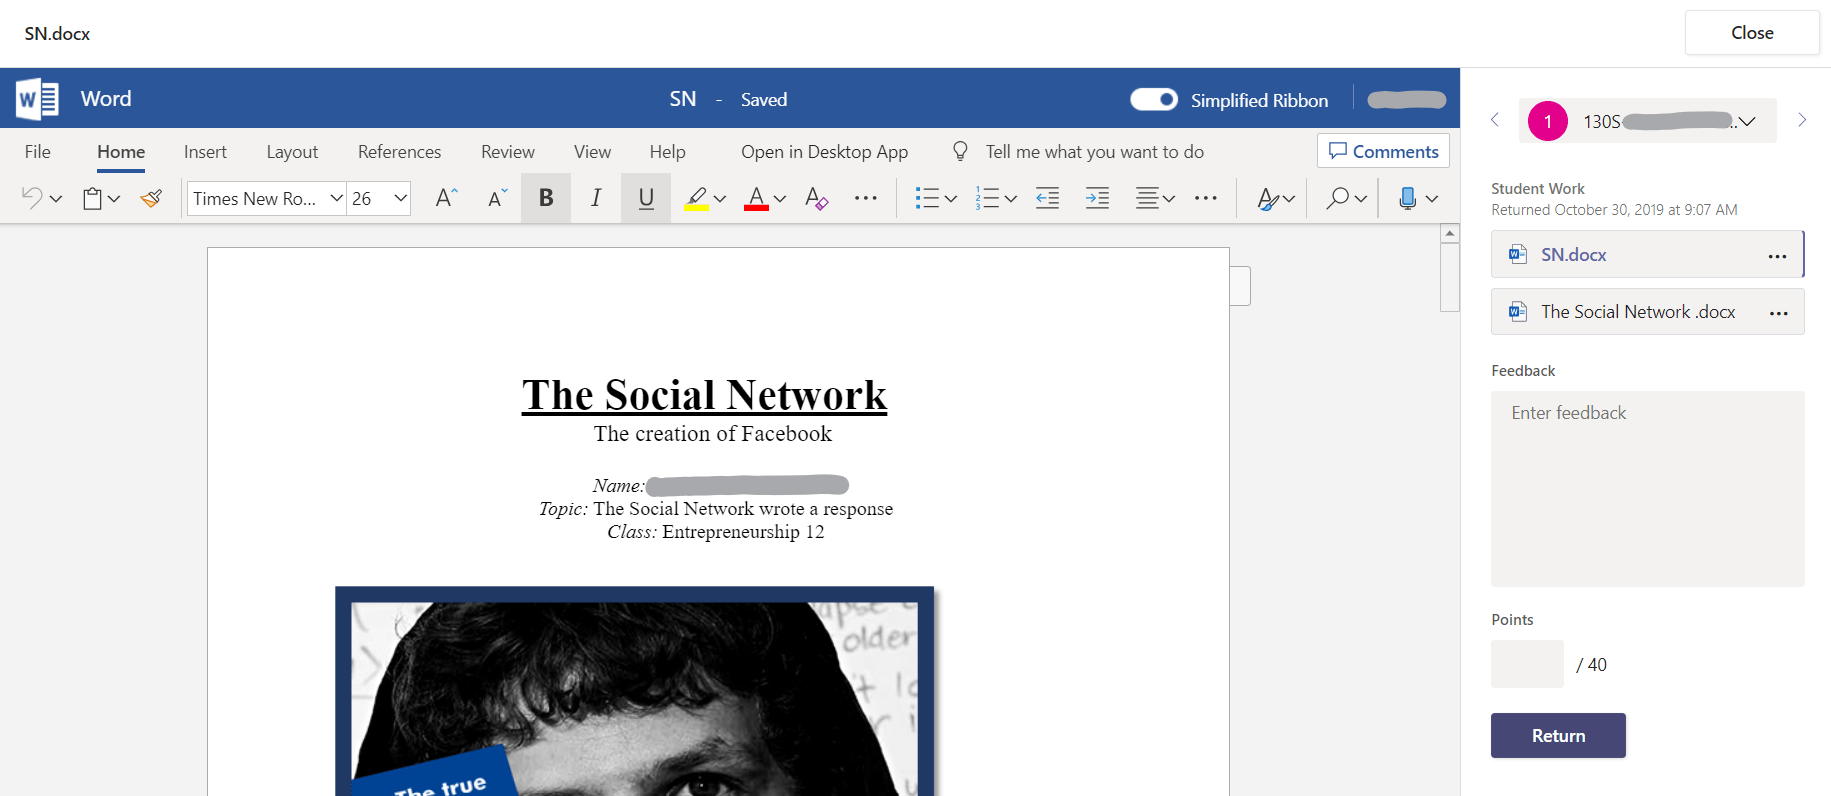
Clicking on a student will open their submitted work on your screen. Teams will accept most file types for student work (Word, PowerPoint, PDF, PNG, JPG, etc.) and most files will immediately be displayed in the preview window (example below).
 Note: if the student submits an editable document (Word, PowerPoint, etc), any changes you make in the preview window will be saved to their copy of the document (stored in their OneDrive).
The right side of the screen displays several options (image left). At the top, you will see a dropdown menu with the student’s name. You can use this menu, or the arrows beside it, to switch between different students without returning to the previous screen.
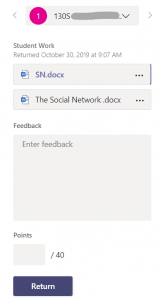
 Below this, you will see a section titled Student Work with a date displayed. This date will either be when the student submitted their work or when the teacher returned feedback, whichever is more recent. The files submitted by the student will be listed below the date of submission. Clicking on the elipses to the right ( … ) will open more options (image right). From this menu, you can choose to open the document in another program, or download it directly to your device.
Note: Some file types may not be previewable and will need to be downloaded to be viewed.
The Feedback section is where you can type plain text feedback directly to the student. The assignment’s score can be recorded in the Points field at the bottom of the screen.
When you are satisfied that your assessment is complete, click the Return button and the student will be notified.
Congratulations! You have completed our beginner lessons for Microsoft Teams. You can now return to the Tutorial Directory to repeat a lesson or browse other guides.
Do you have any questions? Leave a message in our discussion forum. Note that these forums are viewable to the public, but require an Edublog account to post.
Please take a moment to provide some anonymous feedback below!