
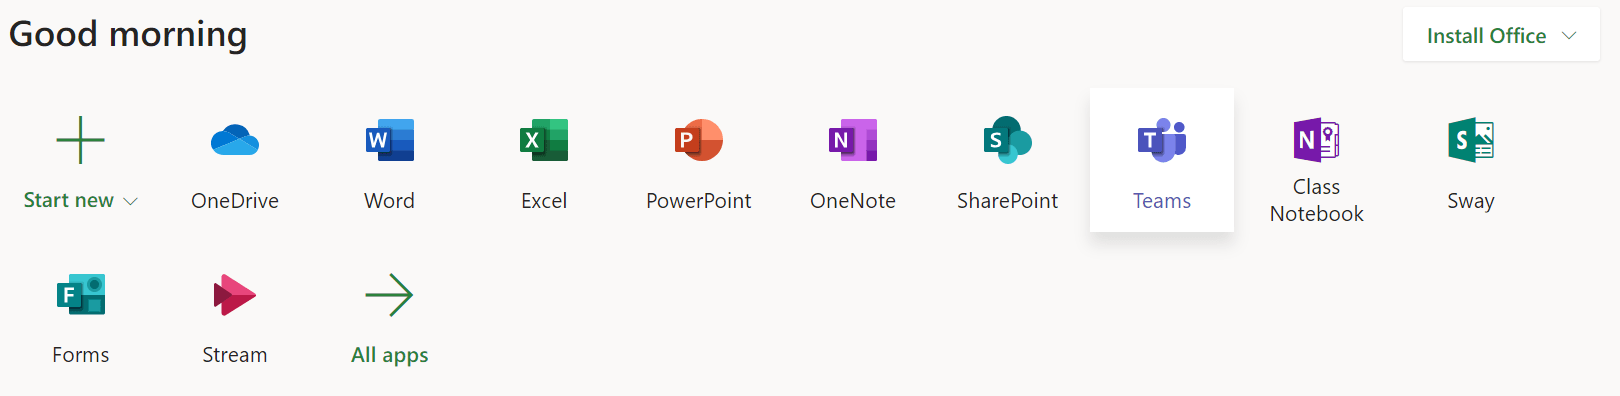
Visit the Office 365 portal and login using your district email. Click on the Teams application (image below) to open the browser version of the software.
 The browser version of Teams is very good, but we recommend installing the desktop application for the best user experience. Click on the icon in the bottom left corner to start the download (image left).
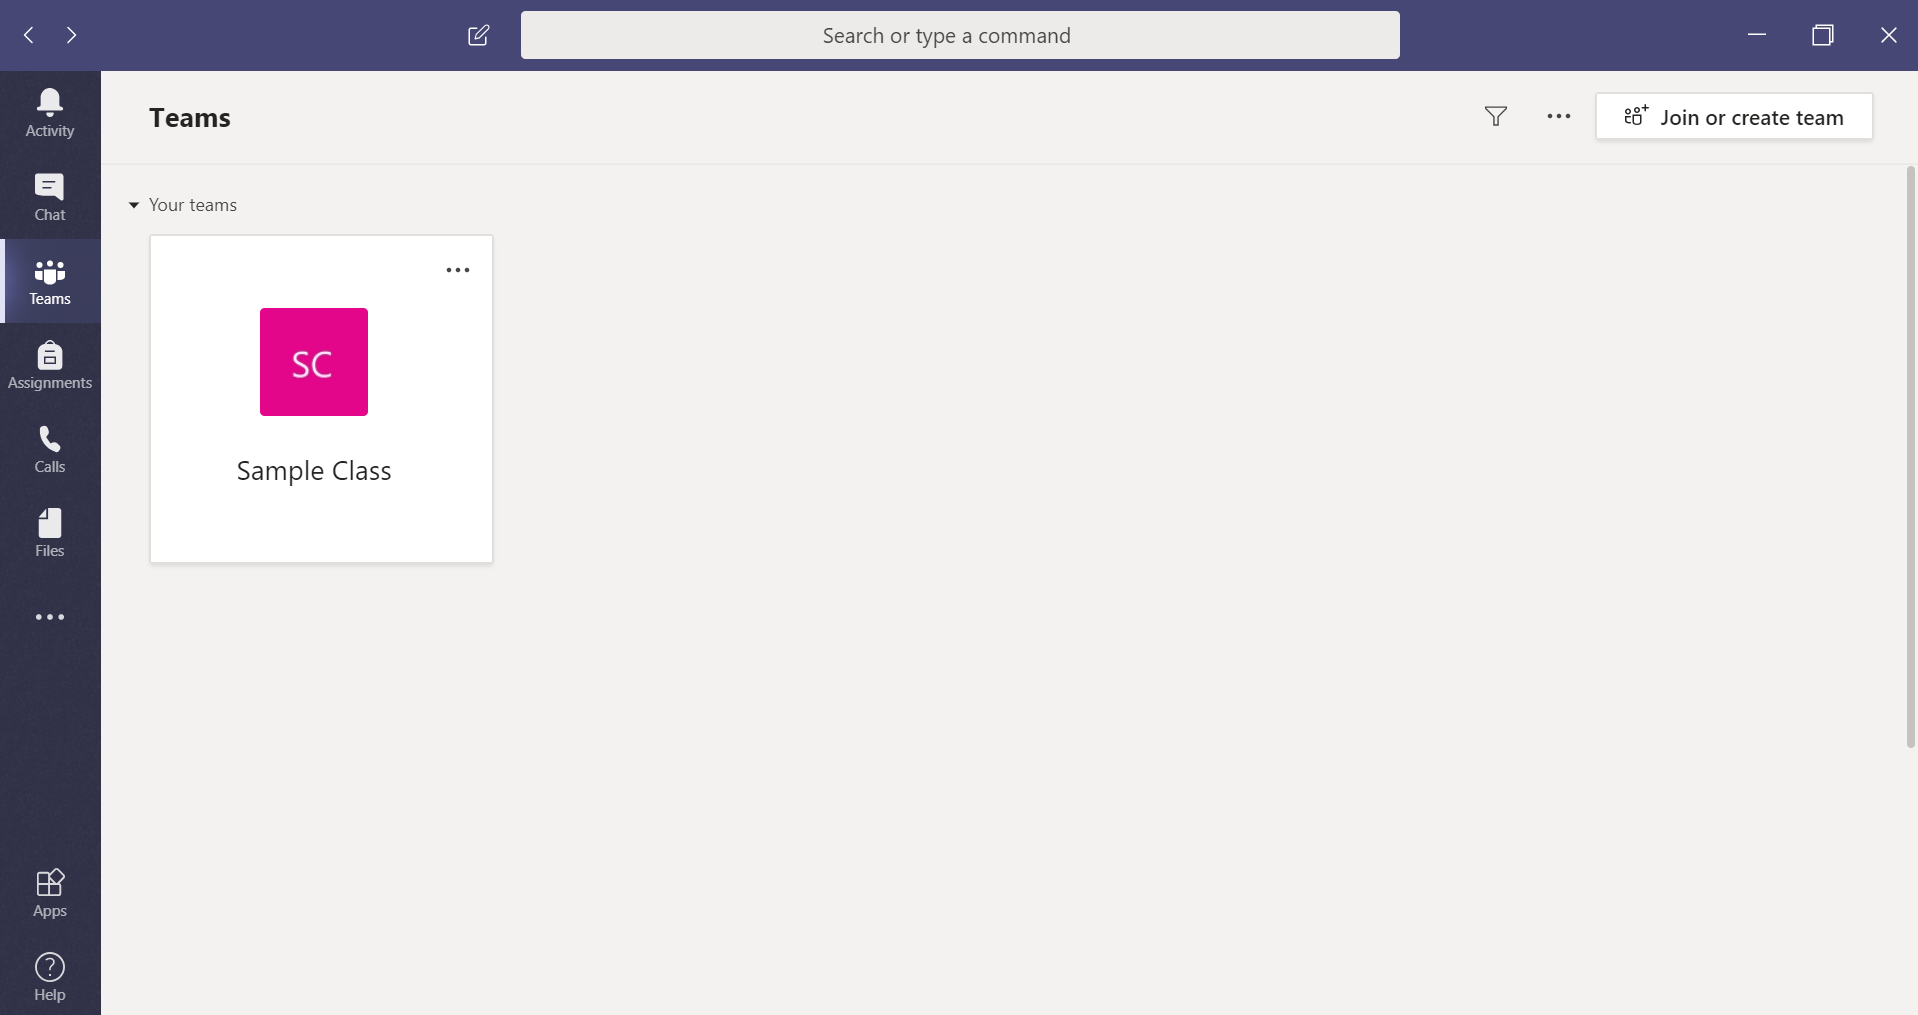
The first tab that opens should be the Teams tab (image above) which displays a grid of all the Teams you have already created or joined.
To create a new class, click on the Join or create team button in the top right corner of the screen. This will open a new window as seen in the image below:
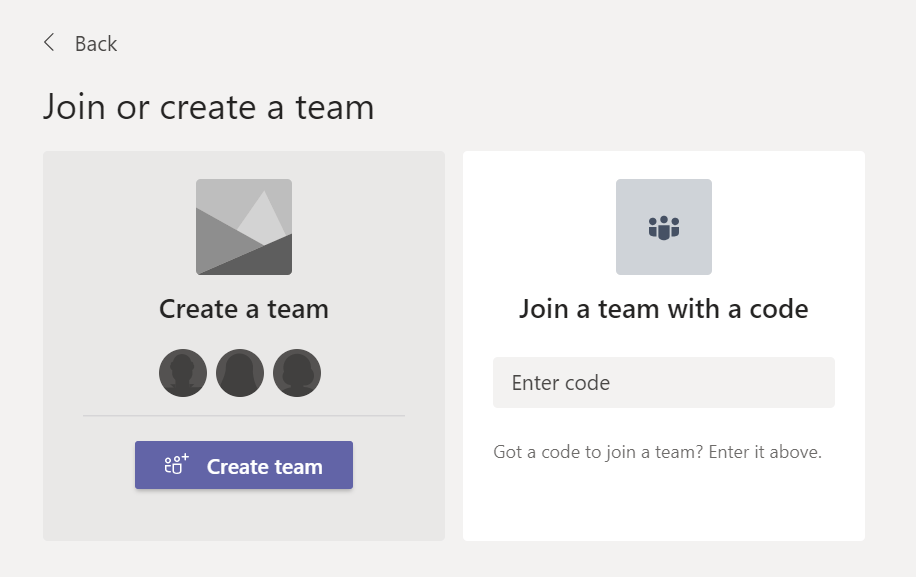
Click on Create team to create a new class team. This will open another new window as seen in the image below:
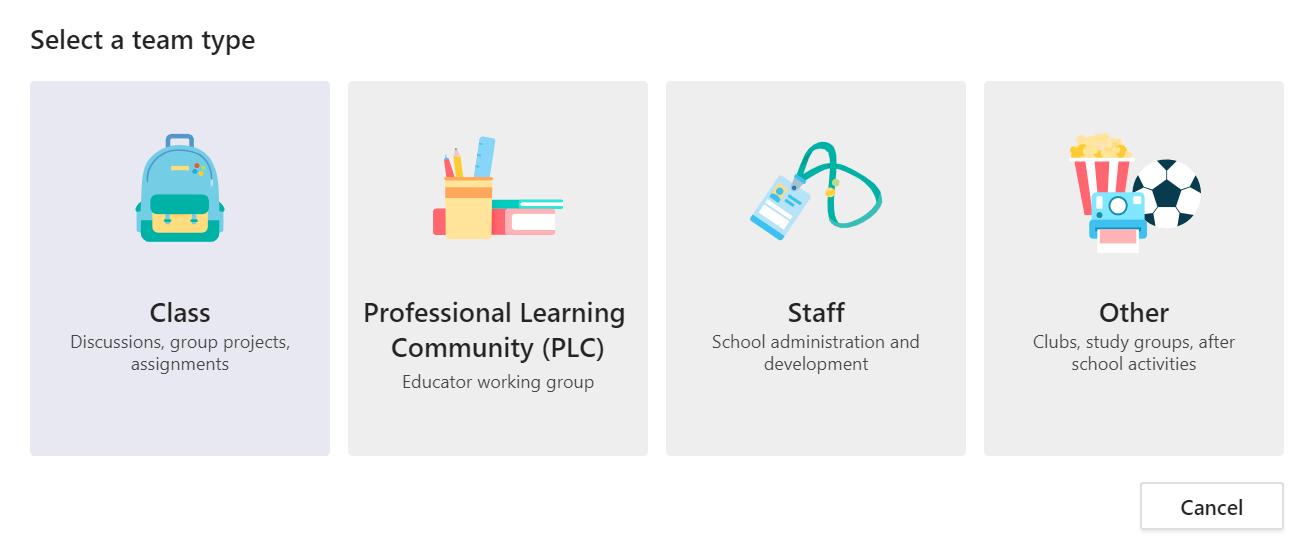
Click on the left most option, Class. You must select this option in order to use the classroom features like Assignments. The following window will appear:
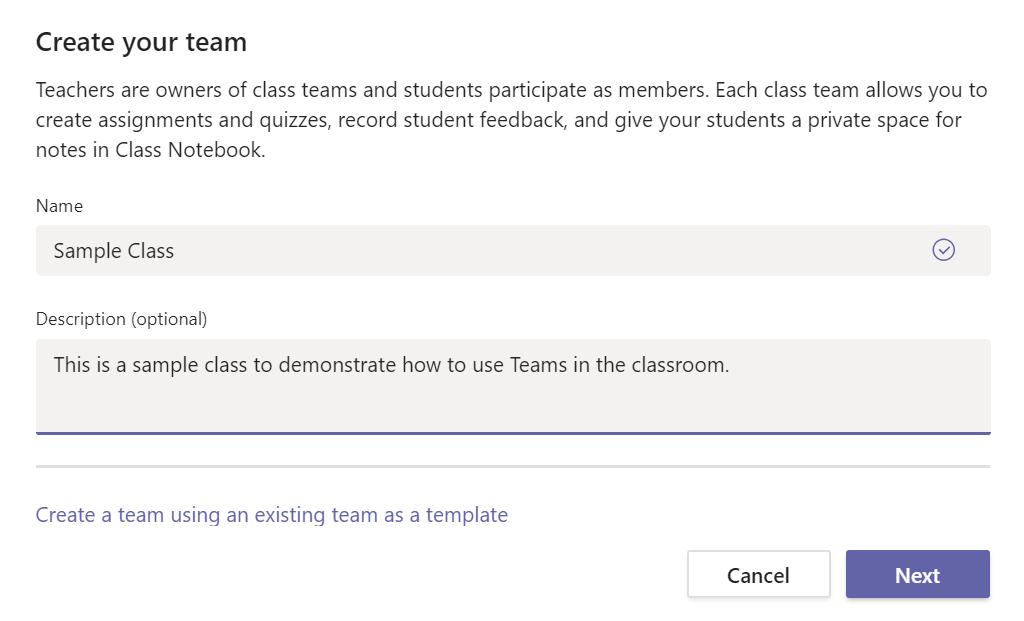
In this window, you must choose a Name for your class. In the image above, the class was named Sample Class. You may also include a brief description of your class in the Description field, but this is optional. When you finish entering these details, click on the Next button and you will see the following window:

This is the window you will use to add students and other teachers to the class. Click on the tabs below for detailed instructions and tips.
To add students to your class, make sure you are on the Students tab. Simply begin typing the student's name until you see them appear on the drop-down list. We recommend you begin with the last name (ex: Smith, John). If you are having trouble finding the student on the list, try typing your school's identifying number first (ex: 130s-Smith, John). This will prevent students at other schools from being displayed on the drop-down list.
If you would like other teachers to be able to manage your class team, use the Teacher tab to add them. Simply begin typing the teacher's name until you see them appear on the drop-down list. We recommend you begin with the last name (ex: Smith, John). Keep in mind that anyone added to the class through this tab will have full editing privileges; they can add/remove students, create assignments, change channel permissions, etc. Do NOT add students through this tab.
When you have finished adding students, click Close.
Congratulations! You created a new Class in Teams! Follow the link below to learn how to create a new assignment for your class.
Do you have any questions? Leave a message in our discussion forum. Note that these forums are viewable to the public, but require an Edublog account to post.
Please take a moment to provide some anonymous feedback below!