
You can view Microsoft’s official (out-of-date) training video on this topic here.
Be sure you are inside the correct Team before you begin creating a new assignment. From the main screen, select the Assignments tab from the top of the screen (highlighted in blue in the image below)
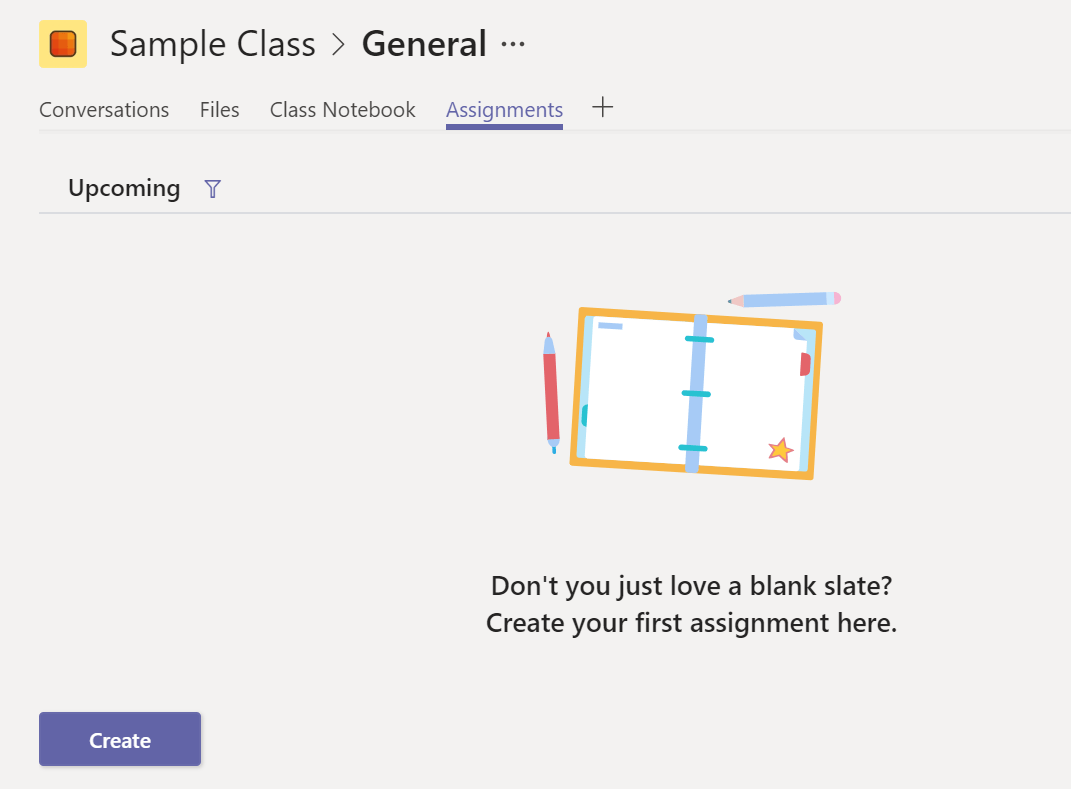
Click on the Create button in the bottom left corner of the screen. This will open a pop-up menu with the options seen in the image below:

In this tutorial, you will be creating a new assignment, so select Assignment (top option). This will open a new window as seen in the image below:
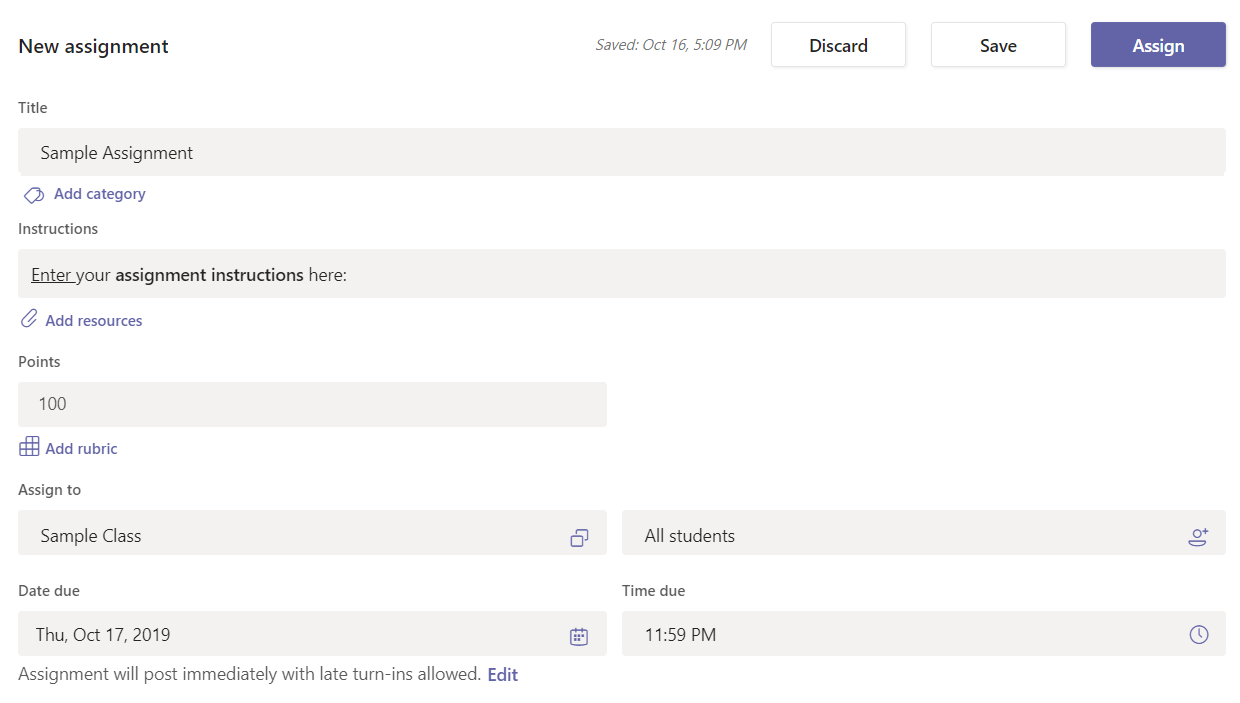
You must now enter the assignment details:

Enter the title of your assignment in the first box. You may also create a category to help keep your assignments organized. (i.e. Unit 1, Chapter 2, etc)
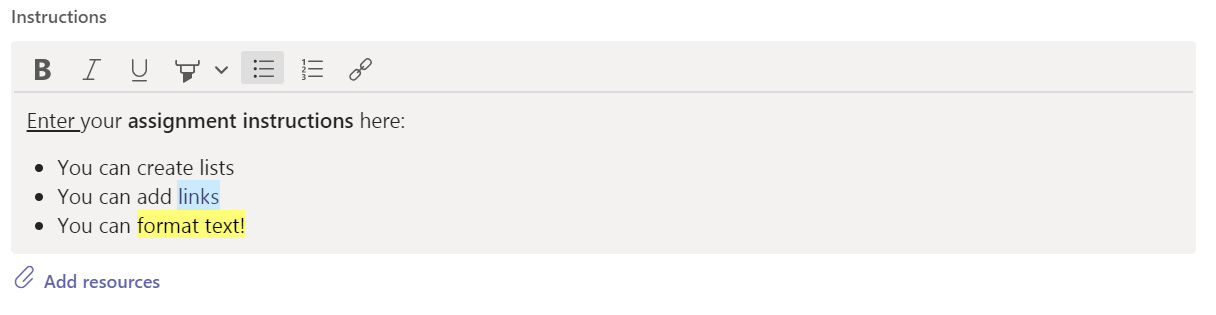
You can include additional written instructions for your assignment in this field using basic text formatting (bold, highlight, lists, etc).
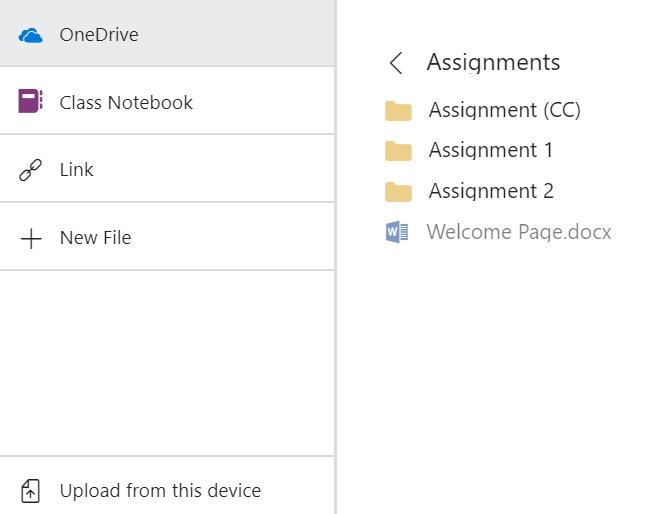
If you have a more detailed set of instructions prepared, you may choose to upload a copy of these instructions as a file (recommended PDF). To upload the document, click on Add resources and select whichever method you would like to use to attach your document.

The Points section is where you can include what the total marks are for your assignment. This is an optional field. You may also attach a rubric which can be used when marking your assignment. Rubrics are an advanced tool which will be covered in a separate tutorial.

The Assign to field will allow you to select which classes (left box) you want to distribute your assignment to. By default, the current class you are working on will be selected, but you may select multiple other classes. If you select more than one class, the assignment will be distributed to all selected Teams simultaneously. You may also select only specific students (right box), or use the default option: All students.

Finally, you can choose the Date due and Time due for your assignment. By default, Teams will continue to collect assignments submitted after this date, but they will be marked as late.
After you have finished entering all relevant details for your new assignment, click on the Assign button in the top right corner of the screen. It may take a few minutes for your assignment to be accessible to students.
Now that you have created your first assignment, you may begin assessing and providing feedback! Click on the link below to begin the next lesson.
Do you have any questions? Leave a message in our discussion forum. Note that these forums are viewable to the public, but require an Edublog account to post.
Please take a moment to provide some anonymous feedback below!